Quick answer
To sharpen a kitchen knife at home, you can use a manual whetstone, a pull-through sharpener, or a guided system. For a lasting, professional edge, learning to use a whetstone is the most effective technique. This guide will walk you through the basics.
Learning how to sharpen kitchen knives at home is a fundamental skill that transforms cooking from a chore into a pleasure. A sharp knife is safer, more precise, and preserves the integrity of your ingredients. While it may seem daunting, the process is rooted in simple principles of abrasion and angle control. We’ll compare the most common home sharpening tools and provide a detailed, beginner-friendly guide to using a whetstone, the method that offers the most control and the best results for maintaining your blades over a lifetime.
Understanding Your Sharpening Options
Before you begin, it helps to know the tools available. Each method for how to sharpen kitchen knives at home has different trade-offs in terms of result quality, learning curve, and convenience.
Manual Whetstones (Sharpening Stones)
Whetstones are blocks of abrasive material—typically aluminum oxide, silicon carbide, or ceramic—used to grind a new edge onto a blade. They require water or oil as a lubricant to float away metal particles. The key to their effectiveness is the consistent angle you maintain between the knife and the stone. This method gives you complete control and can produce an exceptionally sharp, durable edge, but it requires practice to master the technique.
Pull-Through Sharpeners
These handheld devices have pre-set slots containing abrasive carbide or ceramic wheels or rods. You simply pull the knife through the slot. They are fast and require no skill, making them appealing for quick touch-ups. However, they remove a significant amount of metal with each use and can create a less refined, sometimes jagged edge. Over time, they can prematurely wear down your knife.
Guided Sharpening Systems
These systems use a clamp to hold the knife and a guide rod to maintain a precise angle as you run a stone along the edge. They remove much of the guesswork from whetstone sharpening and are excellent for achieving consistent results. They are a great middle ground, offering a high-quality edge with a shorter learning curve than freehand stone work.
| Method | Best For | Skill Required | Edge Quality | Metal Removal |
|---|---|---|---|---|
| Whetstone | Long-term skill, finest edge | High (practice needed) | Excellent | Controllable, minimal |
| Pull-Through | Quick, convenient touch-ups | None | Adequate, can be rough | High, less control |
| Guided System | Precision without freehand skill | Low to Moderate | Very Good | Controllable |
A Step-by-Step Guide to Sharpening with a Whetstone
This tutorial assumes you are using a basic dual-grit whetstone (e.g., a common 1000/6000 grit combination). Always start by consulting the manufacturer’s instructions for your specific stone regarding soaking time and lubrication.
- Prepare Your Stone: If using a water stone, submerge it in water until bubbles stop rising (typically 10-20 minutes). Place the soaked stone on a stable, non-slip surface, like a damp towel on your counter. For oil stones, apply a thin layer of the recommended sharpening oil.
- Find Your Angle: The goal is to maintain a consistent angle between the knife’s blade and the stone. For most Western-style chef’s knives, this is between 15 and 20 degrees. For harder Japanese knives, it’s often 10 to 15 degrees. A good starting point is to hold the knife so the spine is about two coin-widths off the stone. This angle is more important than an exact number.
- Sharpen One Side (Coarse Grit): Start with the coarse side of the stone (e.g., 1000 grit). Place the heel of the knife at one end of the stone. Applying light pressure, push the knife forward and diagonally across the stone so the entire edge from heel to tip contacts the abrasive. Then, pull it back. Repeat this sweeping motion, maintaining your angle, 10-15 times per section of the blade.
- Feel for a Burr: After working one side, you will have formed a “burr” or “wire edge” on the opposite side of the blade. This is a tiny flap of displaced metal. You can feel it by gently running your thumb *from the spine toward the edge* (not along the edge!). Once you feel a consistent burr along the entire length, you’ve removed enough metal on that side.
- Sharpen the Other Side: Flip the knife over. Repeat the same sweeping motion on the coarse stone, the same number of strokes, until you feel a burr form on the first side you sharpened.
- Refine the Edge (Fine Grit): Flip the stone to the fine-grit side (e.g., 6000 grit). Repeat the sharpening process on both sides, using lighter pressure and fewer strokes (5-10 per side). This step hones and polishes the edge, removing the burr and creating a finer, smoother cutting surface.
- Deburr and Clean: To remove any remaining microscopic burr, make a few very light, alternating strokes on each side on the fine stone. Finally, rinse your knife thoroughly with water and dry it immediately to prevent rust. Clean your stone according to the manufacturer’s instructions.
Safety
Always sharpen away from your body and keep your fingers behind the knife’s edge. The blade will become very sharp during this process. Focus on the task and work in a well-lit, uncluttered area. Always dry your knife completely after sharpening and cleaning to prevent corrosion and handle damage. For detailed care, see our guide on how to clean and dry kitchen knives safely.
Integrating Sharpening into Your Knife Care Routine
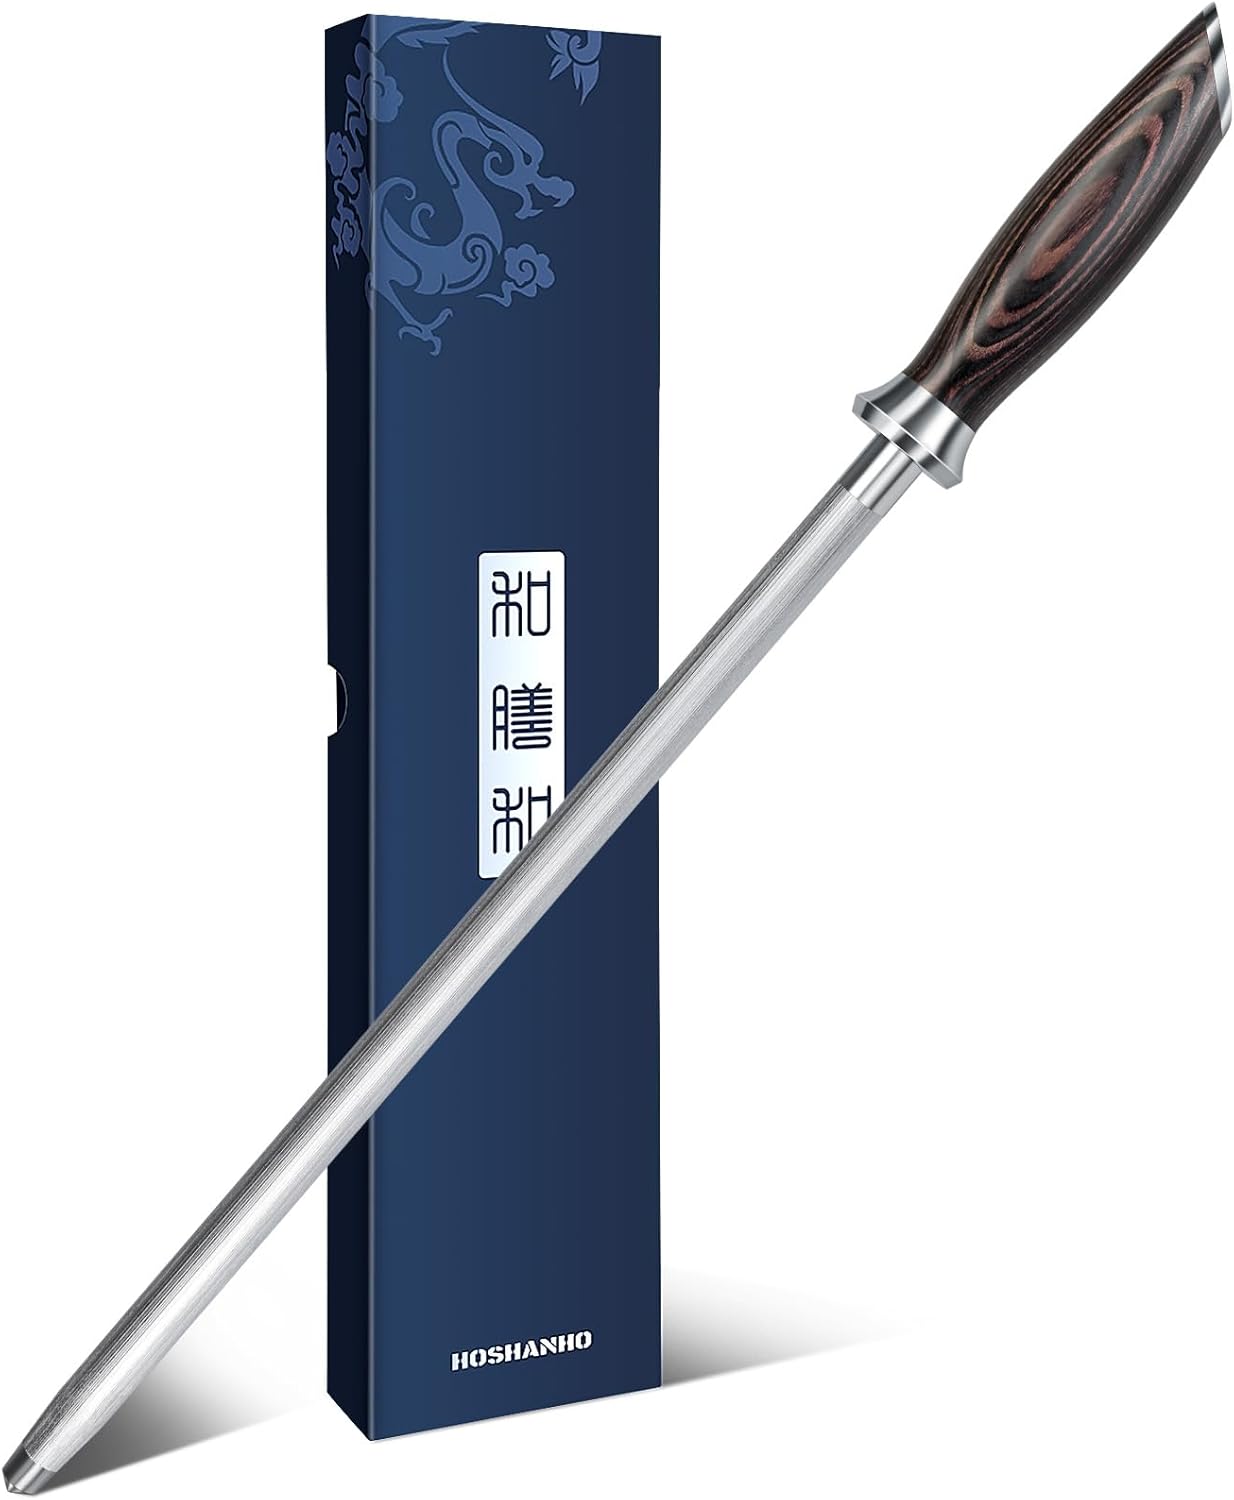
Sharpening is not something you need to do daily. It’s the final step in a complete care system. Regular honing with a steel realigns the edge between sharpenings. Proper storage protects the edge from damage, and using a forgiving cutting board material like wood or plastic minimizes dulling. When your knife no longer responds to honing and struggles with basic tasks, it’s time for a full sharpening session.
FAQ: How to Sharpen Kitchen Knives at Home
How often should I sharpen my kitchen knives?
There’s no fixed schedule, as it depends on use. A home cook using a knife daily might need to sharpen it every few months. The real indicator is performance. When honing no longer restores a keen edge and the knife crushes tomatoes or slips on onion skins, it’s time to sharpen. Learn more about the difference in our article on knife sharpening vs honing.
Can I sharpen serrated knives or ceramic knives at home?
Serrated knives require a specialized tapered rod that matches the groove of the serrations; general sharpeners will ruin them. Ceramic knives are extremely hard and can only be sharpened with diamond abrasives. For both types, many cooks find it more practical to have them professionally serviced.
What’s the most common mistake beginners make?
Applying too much pressure and using an inconsistent angle. Let the abrasive do the work. Light, controlled strokes with a steady wrist will yield a better edge than grinding down hard on the stone, which can overheat the metal and create an uneven bevel.
Do I need multiple grit stones?
For most home maintenance, a combination stone with a medium grit (around 1000) for reshaping and a fine grit (3000-6000) for refining is sufficient. A very coarse stone (under 400 grit) is only needed for repairing chips or reshaping a badly damaged edge.
Is a honing steel the same as sharpening?
No. A honing steel realigns the microscopic teeth along the edge that get bent during use; it does not remove metal to create a new edge. You should hone regularly—even before each use—and sharpen only when honing is no longer effective.
References
- Manufacturer manuals and specification sheets for sharpening stones and systems
- USDA Food Safety and Inspection Service: Safe temperature chart, https://www.fsis.usda.gov/food-safety/safe-food-handling-and-preparation/food-safety-basics/safe-temperature-chart
- FoodSafety.gov: Safe food handling, https://www.foodsafety.gov/