As an Amazon Associate I earn from qualifying purchases. This page may contain affiliate links.
The all-clad ha1 10-piece nonstick cookware set is a hard-anodized aluminum collection built for everyday stovetop cooking, from eggs and pancakes to sautéed vegetables and pan sauces. In this guide, you’ll learn what a typical 10-piece HA1 set includes, how to check a set’s construction before you buy, how to use and care for the nonstick surface so it lasts, and which mistakes tend to shorten a pan’s life. By the end, you’ll know how to get the most from the set and when a pan in it is past its useful life.
What Usually Comes in an All-Clad HA1 10-Piece Nonstick Set
Piece counts and exact contents can change between retailers and product updates, so always compare the listing against the box before purchase. Most HA1 10-piece sets are built around a core group of skillets, saucepans, and a stockpot, along with lids and sometimes a utensil or two. Common pieces in this type of set include:
Shopping for one? See our guide: Plateful Titanium Cookware Set Review: Features and Performance.
- One or two frying pans (commonly 8-inch and 10-inch)
- One or two saucepans with lids
- One stockpot or Dutch-style pot with a lid
- Additional lids that fit multiple pans
Before you buy, count the pieces and confirm the sizes. A set that looks generous on paper may include only one large pan you’ll actually use daily, so match the sizes to how you cook.
Understanding the HA1 Construction
Hard-anodized aluminum is aluminum that has been electrochemically treated to form a harder, denser outer layer. That layer is more scratch resistant than plain aluminum and resists warping better, which is why it’s a common base for nonstick cookware. The nonstick coating sits on top of this base. Two things matter most when you evaluate construction:
- Base thickness: Thicker walls and bases hold heat more steadily and resist warping on high burners. Thin bases heat unevenly and can develop hot spots.
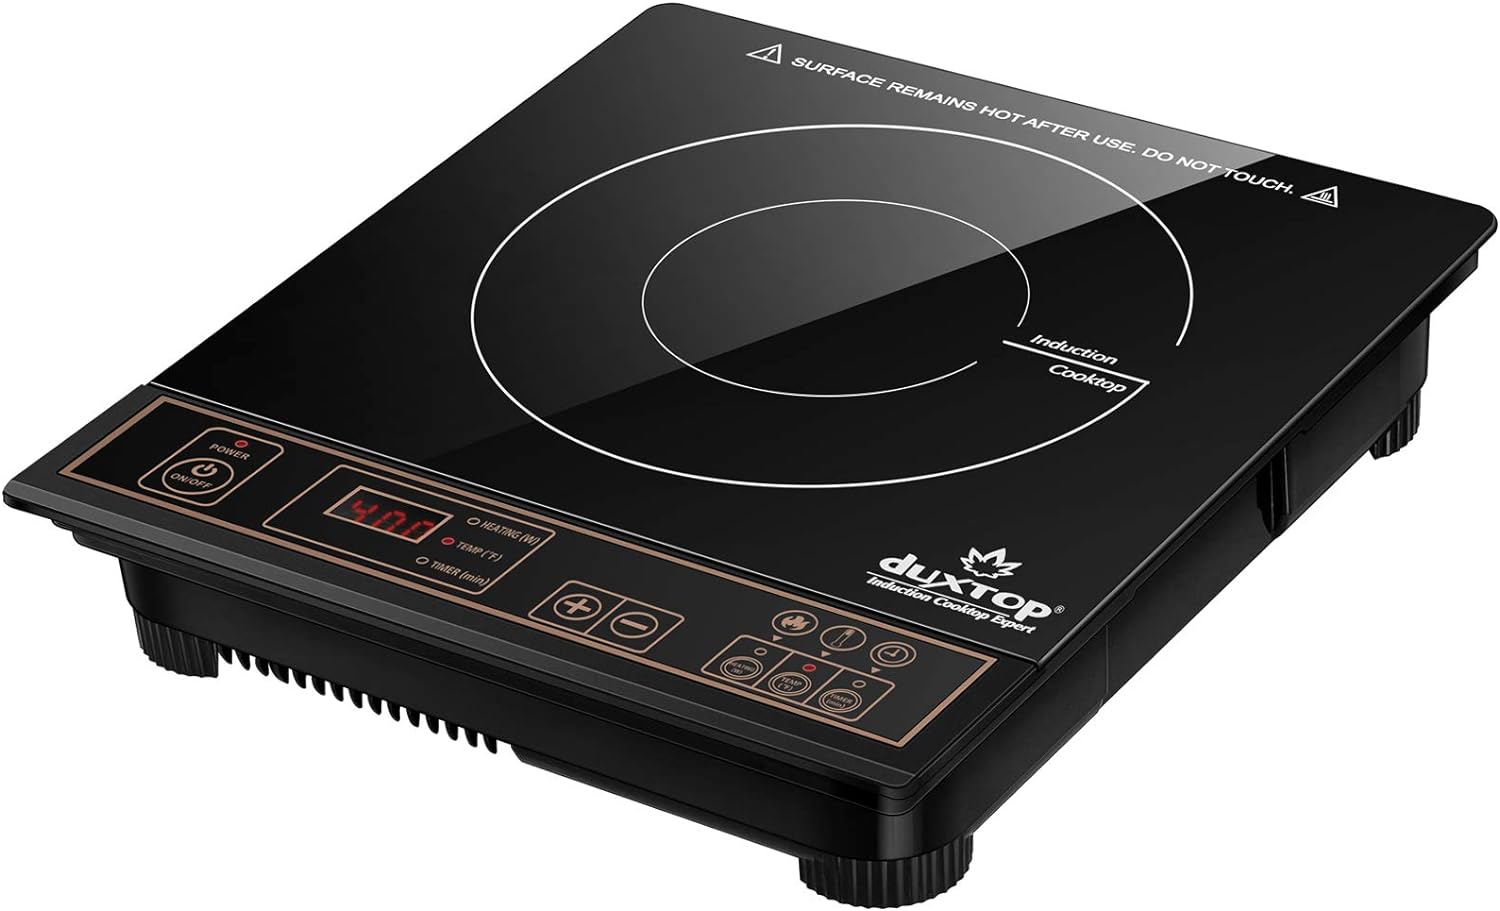
- Bottom design: A flat, fully contacting base improves performance on flat-top induction and electric cooktops. Check whether your cooktop requires a magnetic base; aluminum alone is not induction-compatible.
If you want a broader grounding in how bases and walls affect cooking, the article on Understanding Clad and Disc Bottom Cookware Construction explains the differences clearly. For the role thickness plays in day-to-day results, see Cookware Thickness Guide: Impact on Cooking.
How to Check Your Set Before You Cook
When the set arrives, run through a short inspection. This takes about five minutes and can catch problems early.
- Remove all packaging, labels, and protective film from the interior and exterior.
- Wash each piece in warm, soapy water and dry thoroughly.
- Check the nonstick surface under good light for pinholes, bubbling, or uneven coating.
- Confirm that each lid sits flat on its pan without rocking.
- Test each pan on your burner to see if it sits flat, with no visible wobble.
If a pan wobbles, has a coating defect, or the lid doesn’t seat properly, contact the manufacturer before use. Manufacturers typically specify their warranty terms in the product documentation.
Step-by-Step: First Use and Daily Cooking
Step 1: Prepare the Pan
Most nonstick pans do not need seasoning the way cast iron does. A quick wash and dry is usually enough before first use. Check the manufacturer’s care sheet for any specific instructions.
Step 2: Preheat Gently
Nonstick performs best at low to medium heat. Start on low, then raise the temperature gradually. Overheating an empty pan is the fastest way to damage the coating. As a rule of thumb, medium heat handles most tasks, including eggs, pancakes, and sautéing vegetables.
Step 3: Add Fat and Food
A small amount of oil or butter improves release and flavor. You don’t need much; a teaspoon or two is enough for most eggs or a single serving of vegetables. Add food once the fat is warm, not smoking.
Step 4: Cook and Release
Let food sit undisturbed until it releases naturally. If it sticks, give it another 30 to 60 seconds before moving it. Forcing a stuck piece can scrape the surface.
Step 5: Cool and Clean
Let the pan cool for a few minutes before washing. Plunging a hot pan into cold water can warp the base. Wash with a soft sponge and warm, soapy water.
Tools and Utensils That Protect the Surface
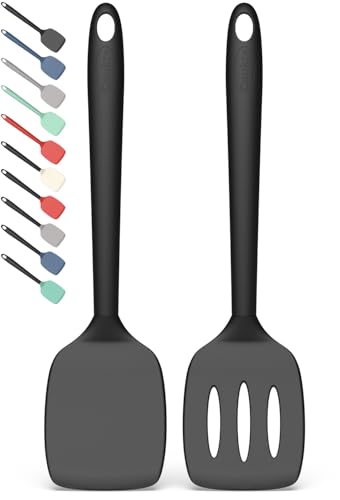
The biggest threat to nonstick is metal contact. Use silicone, nylon, or wood. Avoid metal spatulas, whisks used aggressively against the pan, and metal scouring pads. For stubborn residue, a soft nylon brush works well. You can compare options in 21 Best Cookware Cleaning Brushes.
Common Mistakes That Shorten Nonstick Life
- Cooking on high heat for long periods, which degrades the coating faster.
- Using cooking spray repeatedly, which can leave a sticky residue that is hard to remove.
- Stacking pans without protection, which scratches the interior.
- Running the dishwasher on every cycle, when hand washing is gentler.
- Leaving food to soak overnight rather than cleaning promptly.
- Using the pan to sear meats at very high temperatures, where a stainless or carbon steel pan may suit you better.
For a deeper look at care and lifespan, read Nonstick Cookware Safety and Maximizing Lifespan and Nonstick Cookware Explained.
Tips for Getting the Most from Your Set
- Assign each pan a job. Use the smallest pan for eggs and the largest for sautéing or braising.
- Keep lids on when simmering to reduce heat loss and splatter.
- Replace a pan when the coating shows deep scratches or flaking, since exposed base can affect cooking and cleanup.
- Store pans with a soft liner or paper towel between them.
When to Choose Nonstick and When to Choose Something Else
Nonstick is ideal for delicate foods and low-fat cooking. It is less suited to high-heat searing and deglazing for fond. If you cook both styles regularly, a nonstick set paired with a stainless or carbon steel pan covers most tasks. The guide to Choosing Between Nonstick and Stainless Steel Pans walks through that decision in detail, and Stainless Steel Cookware Guide covers the alternative.
Recommended gear
These supplies help you keep the set in good condition.
- Silicone-tipped tongs or a silicone spatula: they protect the coating while you flip and stir. View on Amazon
- Soft nylon sponge: it cleans without scratching the interior surface. View on Amazon
- Pan protectors or felt liners: they keep pans from rubbing when stacked. View on Amazon
FAQ
Is the all-clad ha1 10-piece nonstick cookware set induction compatible?
Hard-anodized aluminum on its own is not magnetic. Check the product listing for induction compatibility, and confirm the base construction before buying if you cook on an induction cooktop.
Do I need to season the pans before first use?
Usually no. A wash and dry is typically enough. Follow the manufacturer’s care sheet if it includes different guidance.
Can I use metal utensils on the nonstick surface?
It is best to avoid them. Metal can scratch the coating, which shortens its life. Silicone, nylon, or wood utensils are safer choices.
Is the dishwasher safe?
Many nonstick pans are listed as dishwasher safe, but hand washing is gentler and tends to preserve the coating longer. Check the manufacturer’s instructions.
How do I remove stuck-on food?
Soak the pan in warm, soapy water for 10 to 15 minutes, then clean with a soft sponge. Avoid abrasive pads.
How long does nonstick cookware last?
Lifespan depends on heat, cleaning habits, and utensil use. Replace the pan when the coating shows deep scratches, flaking, or persistent sticking that doesn’t improve with proper cleaning.
Is nonstick coating safe to use?
Modern nonstick coatings are widely used. Avoid overheating empty pans, which can cause the coating to break down. If you have specific health concerns, consult a healthcare professional.
Can I use cooking spray on these pans?
You can, but it can leave a sticky buildup over time. A small amount of oil or butter is usually a better choice for long-term performance.
Conclusion
The all-clad ha1 10-piece nonstick cookware set is most useful when you match each pan to its job, cook at moderate heat, and protect the surface from metal utensils and harsh cleaning. Inspect the set when it arrives, follow a simple use-and-clean routine, and replace pans once the coating fails. With those habits, the set can serve you well for many years of everyday cooking.